Getting Started
This guide will help you get started with the SteelShield Plugin for Unreal Engine. The plugin provides integration with the SteelShield DDoS protection system, allowing you to protect your game servers from large scale DDoS attacks.
1. Applying The Patch File
You need to apply the provided patch file to the Unreal Engine source code. In the below examples the $BASE_DIR represents the location of both the Unreal Engine source code and the SteelShield Plugin code. You may need to change the version of the patch used to suite the version of the Unreal Engine you are working with.
Normally, patches with minor number version differences can be applied to Unreal Engine version which share similar major version numbers. For example, patch ue5.2.1 can be applied to ue5.2.0 without issue.
Once the patch file is applied, please rebuild the Unreal Engine using your preferred method.
cd $BASE_DIR/unreal_engine
git apply $BASE_DIR/steelshield_plugin/ue5.2.1-001_engine.patch
2. Copy Plugin Files
The next step is to copy the plugin files to your local projects plugins folder.
cd $BASE_DIR/plugin
cp -r SteelShield $UNREAL_PROJECTS_DIR/MyNewGame/Plugins
3. Enable the Plugin
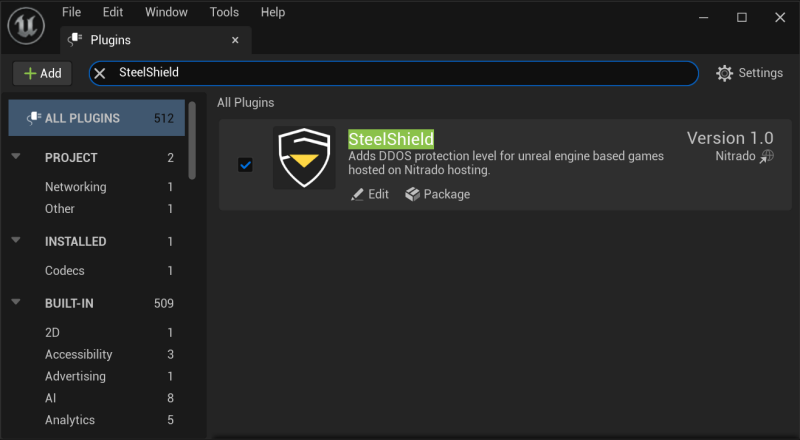
The SteelShield Plugin should automatically be enabled once you copy it into your Plugins folder.
Go to Editor→Plugins to check that it has been picked up and enabled.
After confirming the plugin is enabled, you need to add it as a dependency of your project. You can do that by editing your *.build.cs file to include the following
PublicDependencyModuleNames.AddRange(new string[] { "SteelShield" });As an example, if you have a project called MyGame, then you would have a section in your MyGame.Build.cs file that looks like the following
PublicDependencyModuleNames.AddRange(new string[]
{
    "Core",
    "CoreUObject",
    "Engine",
    "InputCore",
    "OnlineSubsystemUtils",
    "DeveloperSettings",
    "VoiceChat",
    "SteelShield"
});